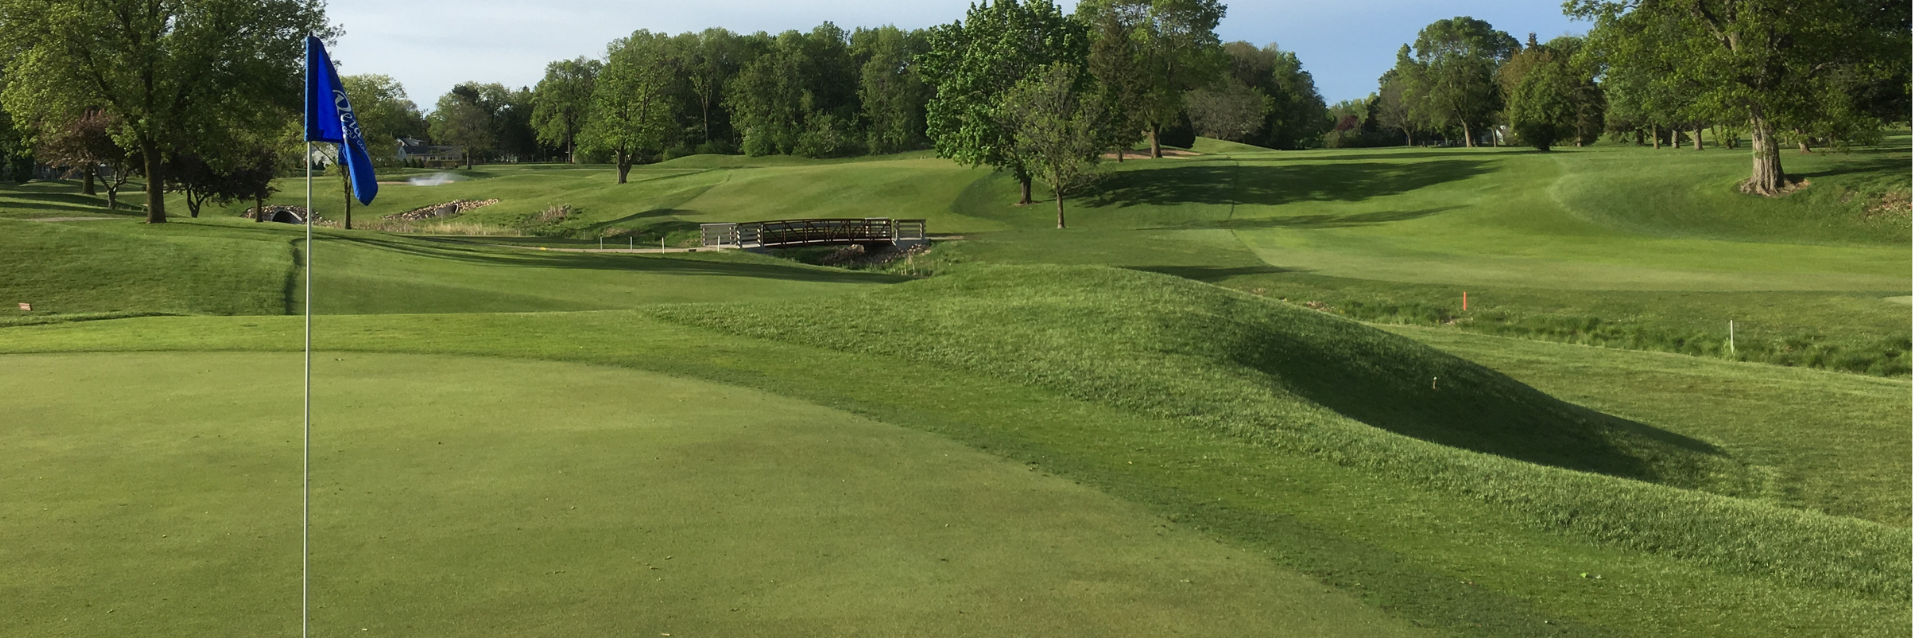
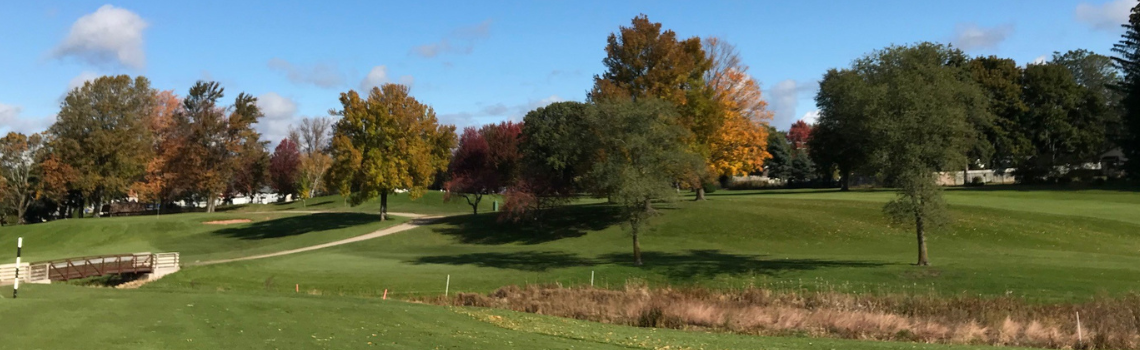
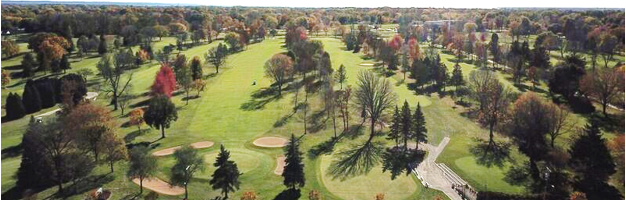
• Skip to main content
  • Skip to primary sidebar
  • Skip to footer

Reid Golf Course

Appleton, WI

Book Tee Times Join E-Club Here
  • Home
  • Course
    • About Us
    • Winter Recreation
    • Events
    • Hole by Hole Flyover
    • Scorecard
    • Hole Sponsors
  • Clubhouse Services
    • Adult Leagues
    • Lessons
    • 2025 Junior Golf Program
    • Group Outings
    • Tee Sign Advertising
  • Rates/Fees
    • Green Fees
    • Annual Passes
    • Carts/Rentals/Range
  • Tee Times
    • Public Tee Times
    • Member Tee Times
    • Internet Specials
  • Contact Us
    • Our Management Staff
    • Employment
Book Tee Times

Hole by Hole Flyover

Hole by Hole Flyover

Hole #1:  Ease into your round with a straight forward Par 5. Avoid the fairway bunkers with your tee shot and make sure you hit to the correct tier on the large green.

https://www.reidgolfcourse.org/wp-content/uploads/sites/5002/2021/09/Reid-1.mp4


Hole #2:  A difficult long par 3, make sure to avoid the right as off line tee shots will bound into the hazard.

https://www.reidgolfcourse.org/wp-content/uploads/sites/5002/2021/09/Reid-2.mp4


Hole #3:  Play conservative or be aggressive on the short par 4, but be careful water lurks on the right and out of bounds on the left.

https://www.reidgolfcourse.org/wp-content/uploads/sites/5002/2022/03/Hole-3-Reid.mp4


Hole #4:  Another large multi-tiered green, make sure to pull the correct club on this par 3 to have a great look at birdie.

https://www.reidgolfcourse.org/wp-content/uploads/sites/5002/2022/03/Reid-4-1.mp4


Hole #5:  The hardest hole on the front nine, hit a long straight drive to get yourself in position to hit towards a small green that slopes severely back to front.

https://www.reidgolfcourse.org/wp-content/uploads/sites/5002/2022/03/Reid-5.mp4


Hole #6:  There is a Birdie opportunity here, grab the correct club and stick it close on this straight forward par 3.
https://www.reidgolfcourse.org/wp-content/uploads/sites/5002/2022/03/Reid-6.mp4


Hole #7:  Hit a straight drive here and get yourself into proper position to approach the green. Aim away from the pond on your second shot to give you the best angle at the green.
https://www.reidgolfcourse.org/wp-content/uploads/sites/5002/2022/03/Reid-7.mp4
Hole #8:  A straight forward par 4 could leave you with a birdie opportunity with good drive and approach!
https://www.reidgolfcourse.org/wp-content/uploads/sites/5002/2022/03/Reid-8.mp4
Hole #9:  The closing hole on the front nine demands a straight drive and solid approach. Avoid going left off the tee, numerous trees make it difficult to advance far down the fairway.
https://www.reidgolfcourse.org/wp-content/uploads/sites/5002/2022/03/Reid-9.mp4


Hole #10:  The shortest par 5 on the golf course, aim left of the fairway bunker to get the best angle to layup or go for the green. Be careful, hazard lurks short and right of the green as well as behind the green.
https://www.reidgolfcourse.org/wp-content/uploads/sites/5002/2022/03/Reid-10.mp4
Hole #11:  The longest par 3 on the golf course, again favor the left side with the hazard to the right. This large green has some challenging pin locations.
https://www.reidgolfcourse.org/wp-content/uploads/sites/5002/2022/03/Reid-11.mp4
Hole #12:  It begins a stretch of tough par 4’s on the back nine. Layup to the yardage you like either at the top of the hill or play it dangerously and challenge the creek before hitting to the elevated green. Do not miss left, a very difficult up and down.
https://www.reidgolfcourse.org/wp-content/uploads/sites/5002/2022/03/Reid-12.mp4
Hole #13:  A tough uphill tee shot must be played left to right to avoid an Oak Tree and fairway bunkers down the left. Once in the fairway another small green awaits your approach.
https://www.reidgolfcourse.org/wp-content/uploads/sites/5002/2022/03/Reid-13.mp4
Hole #14:  A straight away tee shot leaves a mid to short iron into the green, do not go right as a steep drop off waits.
https://www.reidgolfcourse.org/wp-content/uploads/sites/5002/2022/03/Reid-14.mp4
Hole #15:  It is a tough par 4 that requires a drive that avoids a fairway pinching fairway bunker. The approach is open to the back to front sloping green.
https://www.reidgolfcourse.org/wp-content/uploads/sites/5002/2022/03/Reid-15.mp4


Hole #16:  The last par 5 on the course. If you can find the fairway you are in great shape to have a look at birdie. Layup to your favorite yardage or challenge the green in 2 but be careful the green is heavily guarded by bunkers.
https://www.reidgolfcourse.org/wp-content/uploads/sites/5002/2022/03/Reid-16-1.mp4
Hole #17:  It is a short downhill par 3, we suggest to play a club less to have a chance at birdie.
https://www.reidgolfcourse.org/wp-content/uploads/sites/5002/2022/03/Reid-17-1.mp4
Hole #18:  A short par 4 as the finishing hole at Reid. Avoid the fairway bunker on the right and clubhouse on the left to get in position to make a birdie or par to end your round.
https://www.reidgolfcourse.org/wp-content/uploads/sites/5002/2022/03/Reid-18.mp4

Primary Sidebar

Course News

Reid Golf Course

Quick Links

  • Book A Tee Time
  • Rates
  • Upcoming Events
  • Contact Us

Weather

Footer

Reid Golf Course | 1100 E Fremont St | Appleton, WI 54915 | (920) 832-5926

Copyright © 2025 Reid Golf Course All Rights Reserved.
Powered by Powered by Golf Channel Solutions